Monetization with Miro + Salable (Subscription Management)
Leverage Salable to create Miro apps with advanced monetization features.
Although the Miro Developer Platform doesn’t currently offer a native monetization solution, platforms like Salable offer capabilities to help you build your business on Miro.
This guide will show you how to integrate with Salable, so you can receive payments for your Miro apps.
Integrating your Miro app with Salable
While there are many third-party monetization platforms available, Salable allows you to manage licensing, payments, and more via their all-in-one platform. However, there are a few prerequisites you must complete to integrate it with Miro.
Salable integration prerequisites:
- You have a Salable account.
- You’ve created an API key in Salable.
- You’ve set up a payment integration in Salable, such as Stripe.
Next, you must configure a product and a plan in Salable. We recommend that you work in Salable’s Test Mode when you’re getting started.
Configure a Salable product and plan for the Miro example app
To run the Salable example app for Miro, you must log in to your Salable account and ensure that you have a product and plan configured. To do so, you can follow these steps once logged in to your Salable account.
-
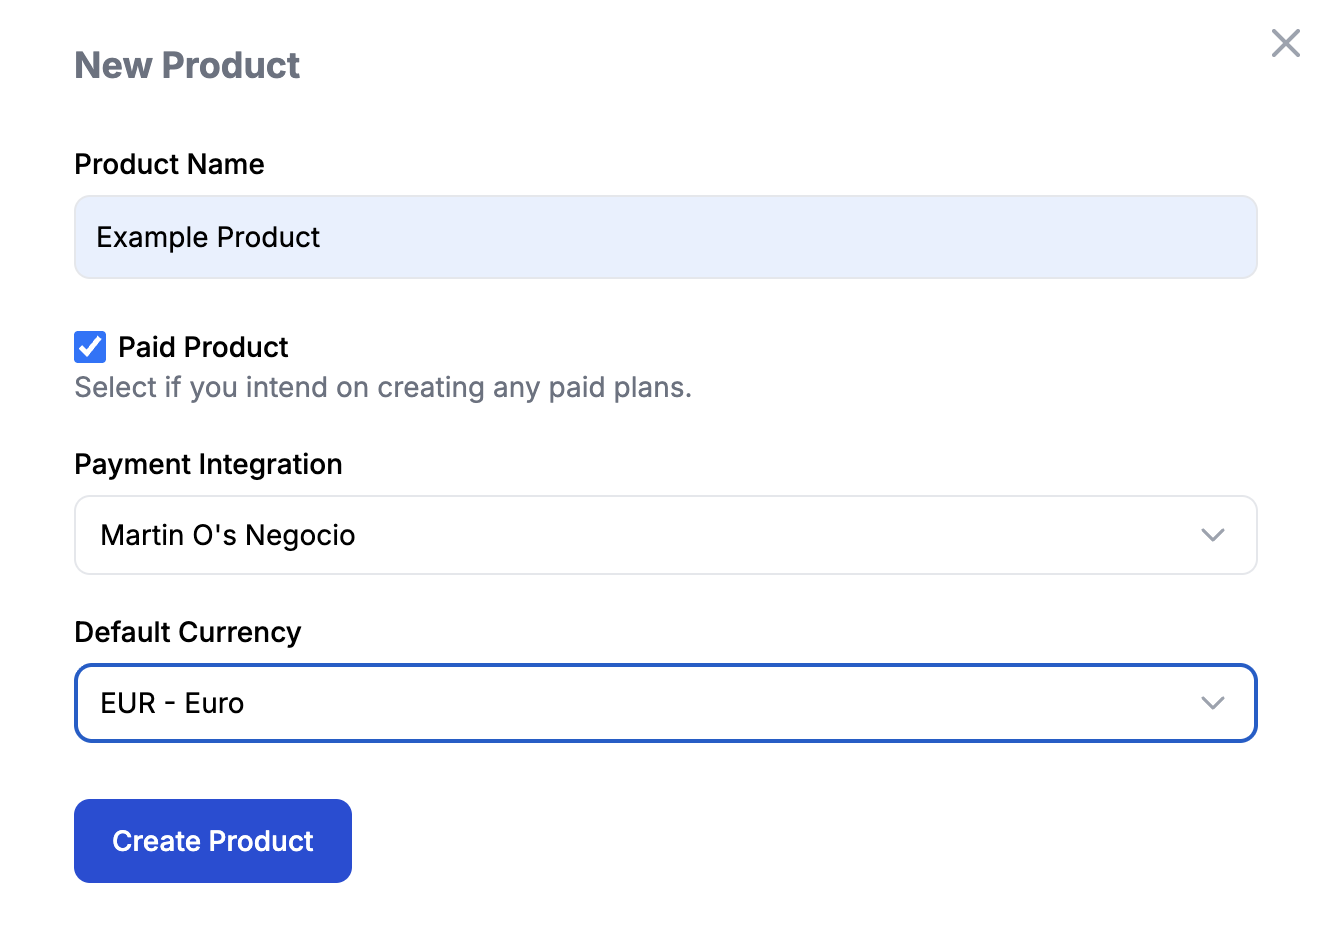
From the Products tab in Salable, create a new product and select Paid Product. Pick the desired Payment Integration and Default Currency.
-
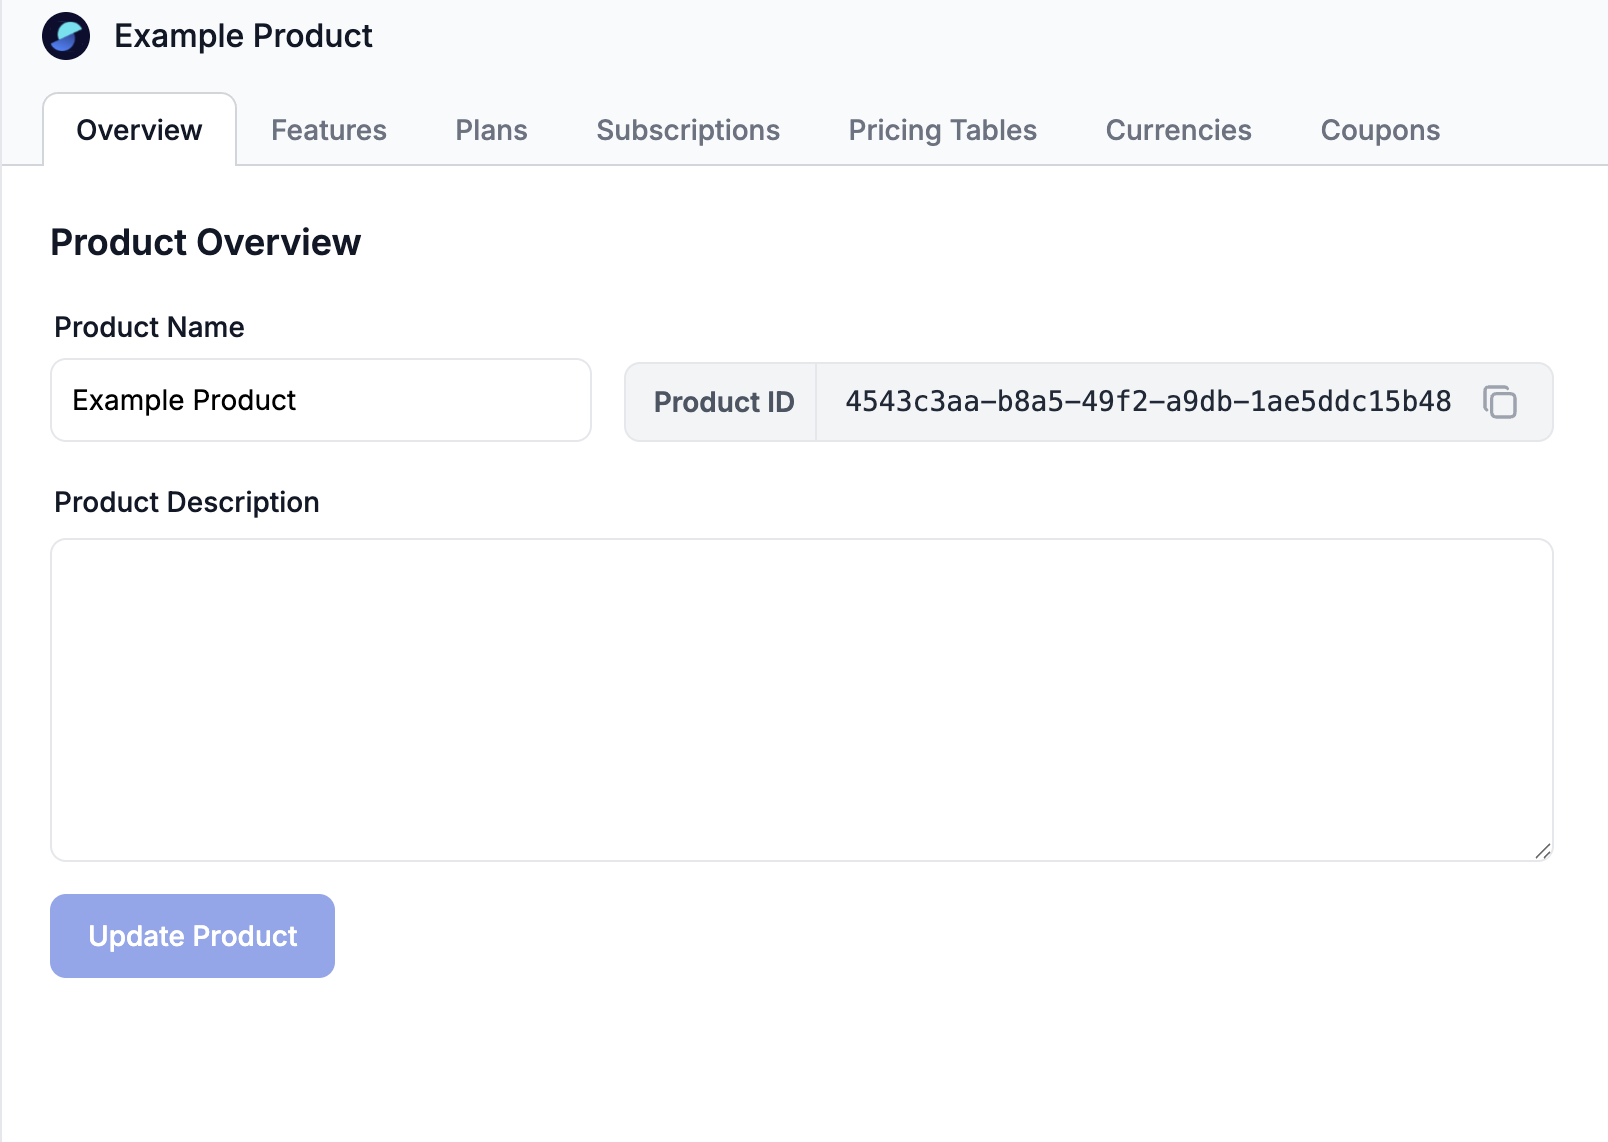
Copy Product ID, which you’ll need later for the .env file in the example app.
-
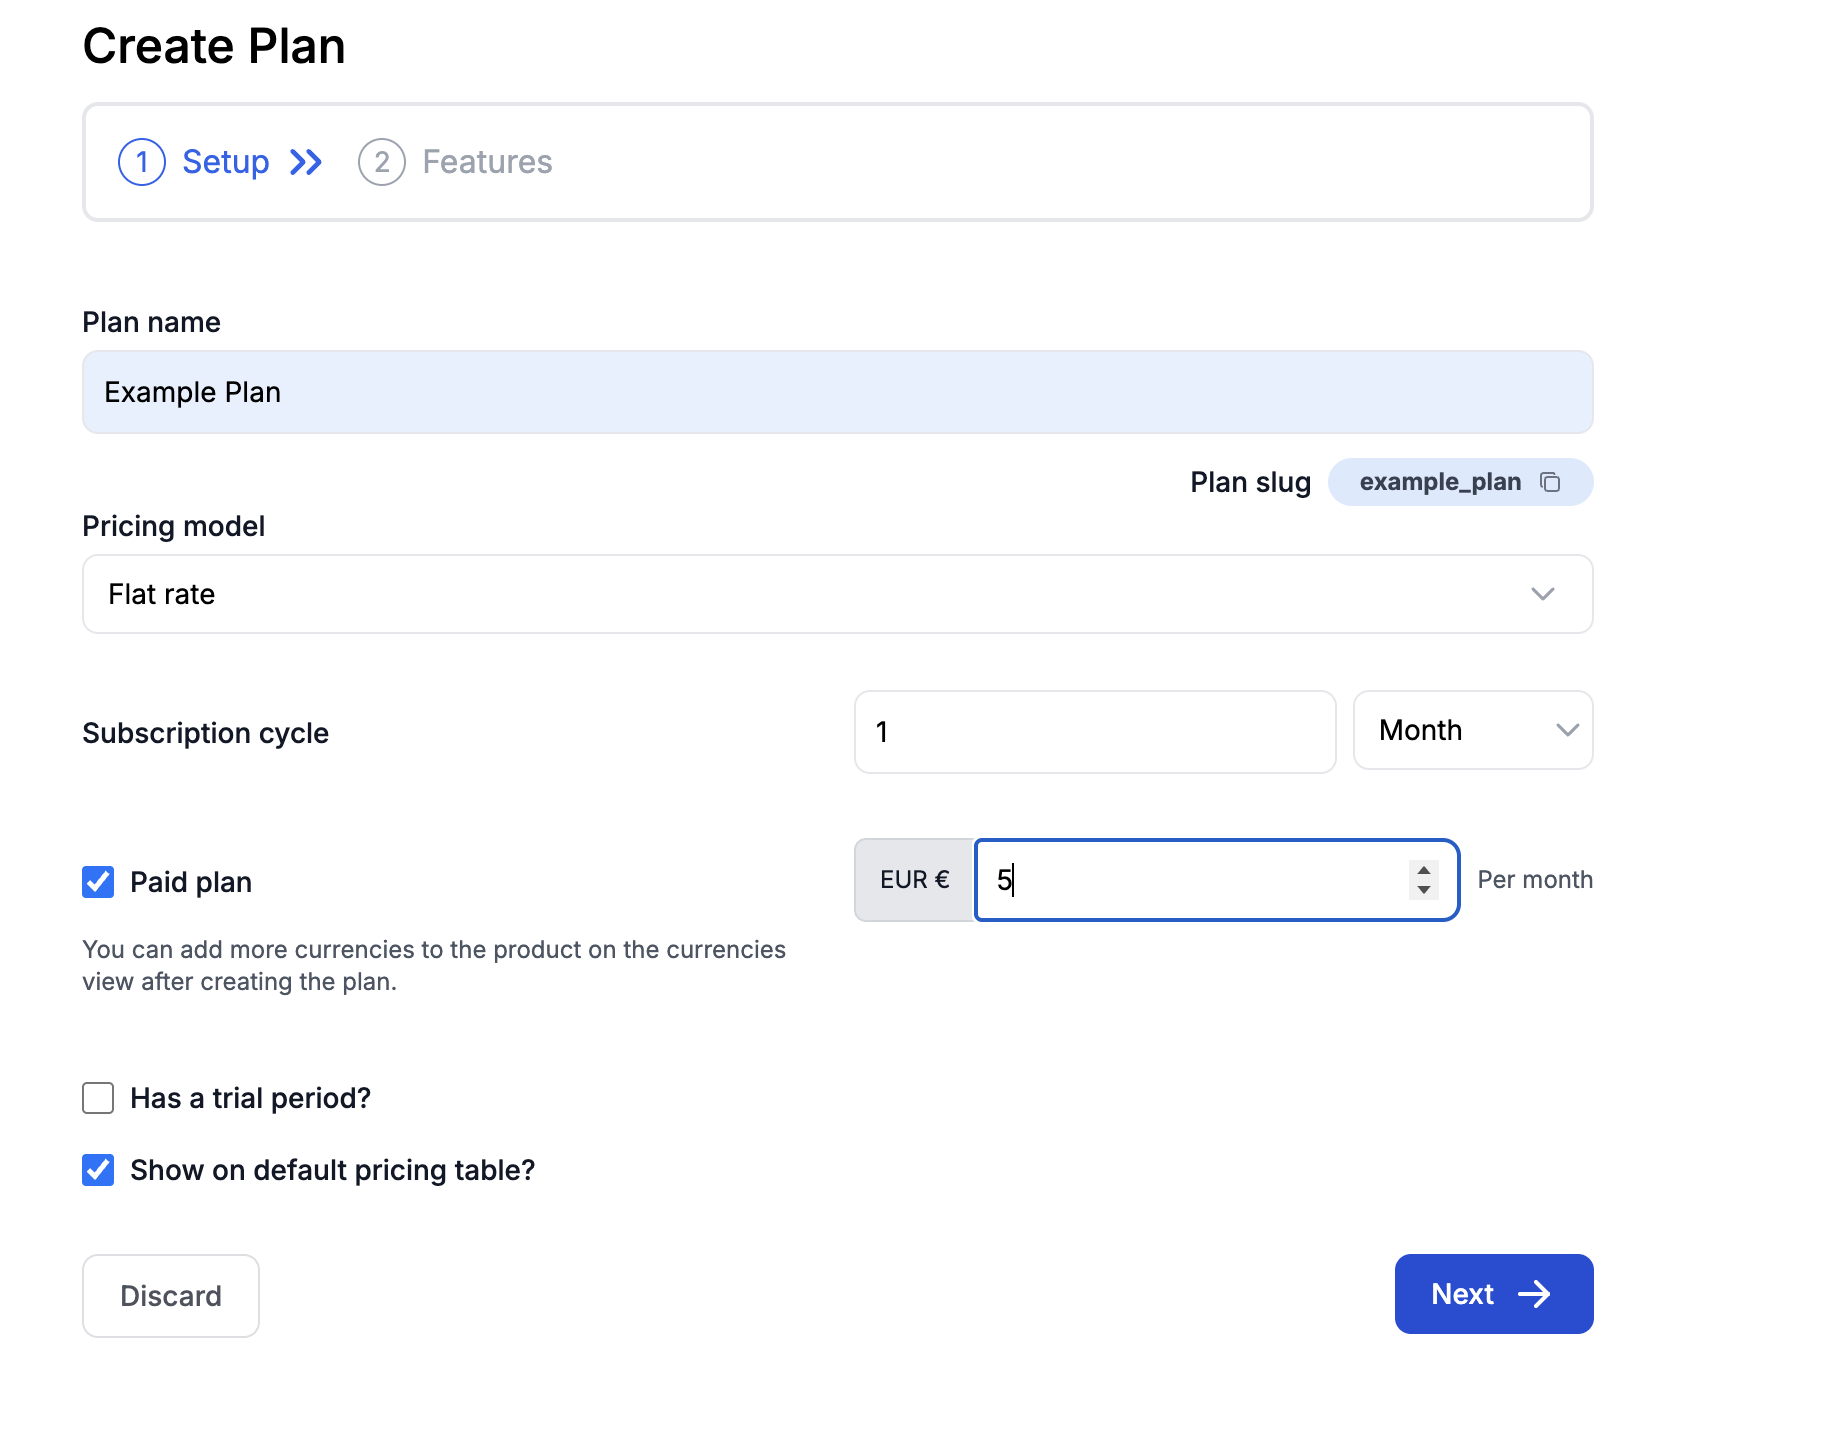
Next, navigate to the Plans tab and create a new plan “Example Plan”. Click on Next.
-
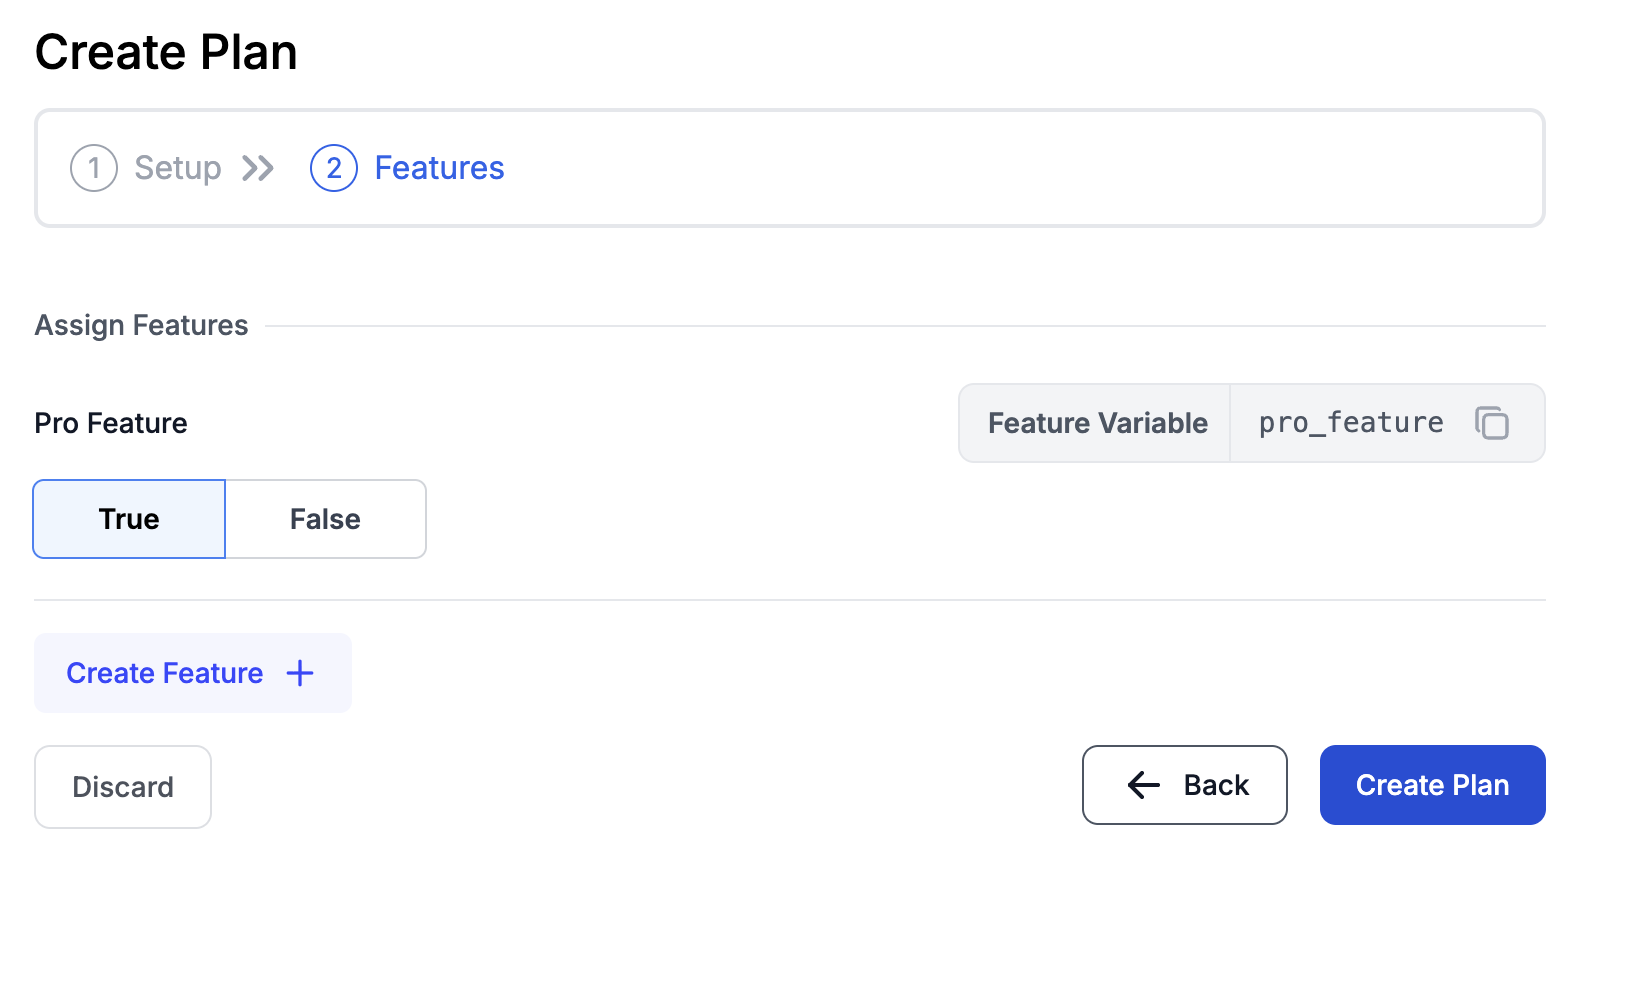
On the next screen, Create Feature and name it "Create". Select Boolean for the Value Type. Click on Create.
-

Once the Feature is created, click on Create Plan. The Feature will be assigned to Plan.
-
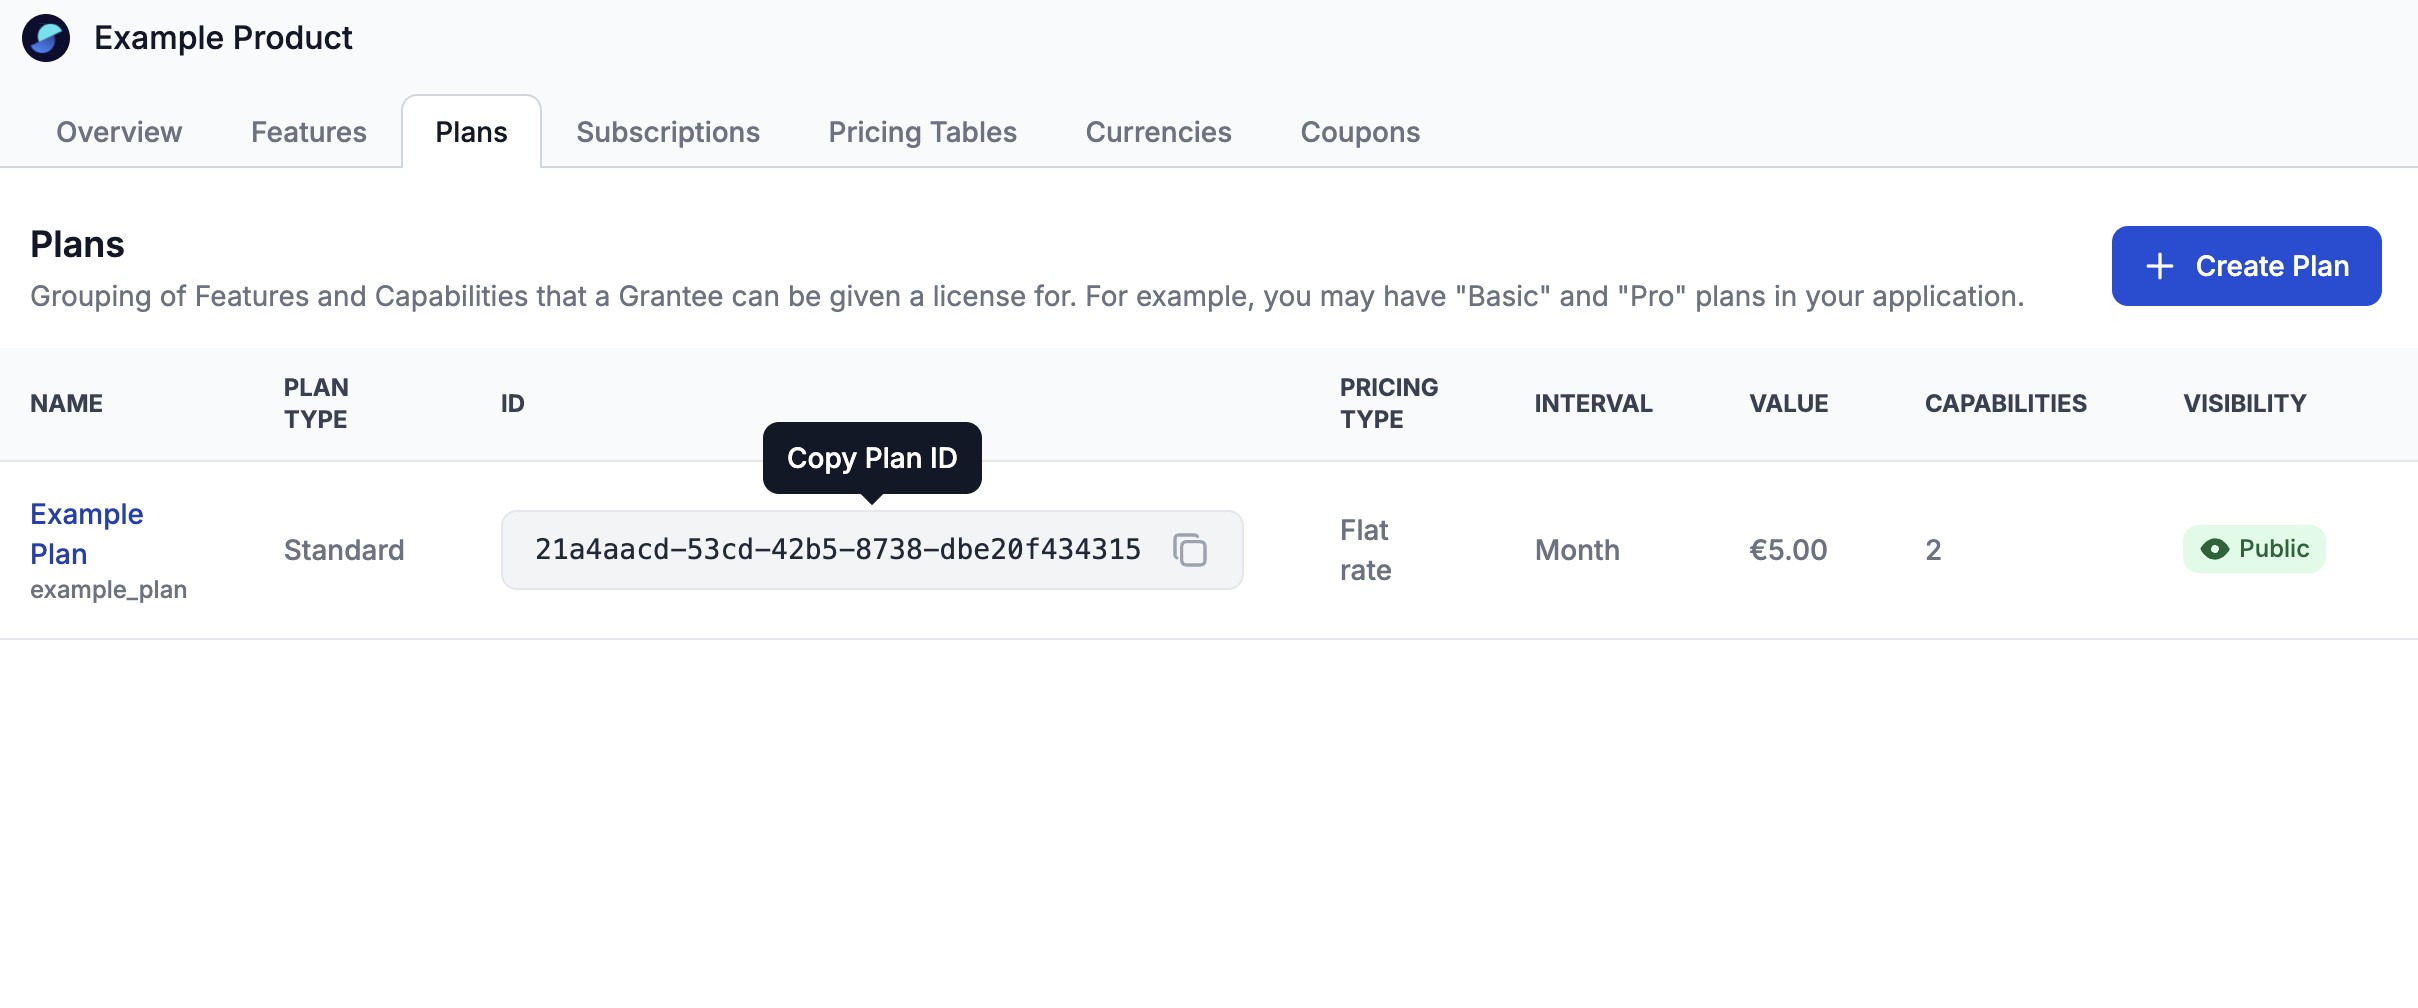
Lastly, go back to the Plans tab and copy the Plan ID, which you'll need for the .env file in the sample app.
With these prerequisites completed, you can start leveraging the power of Salable to create a paywall within your Miro app. Now, let’s explore the Salable + Miro monetization example app!
Adding a Salable paywall to your Miro app
To help illustrate how you can leverage Salable to add a license purchase requirement to your Miro apps, Salable has developed an example app that implements a basic Salable integration with Miro’s Web SDK. You can find the open source repo on their GitHub: Monetization with Salable.
About the example app
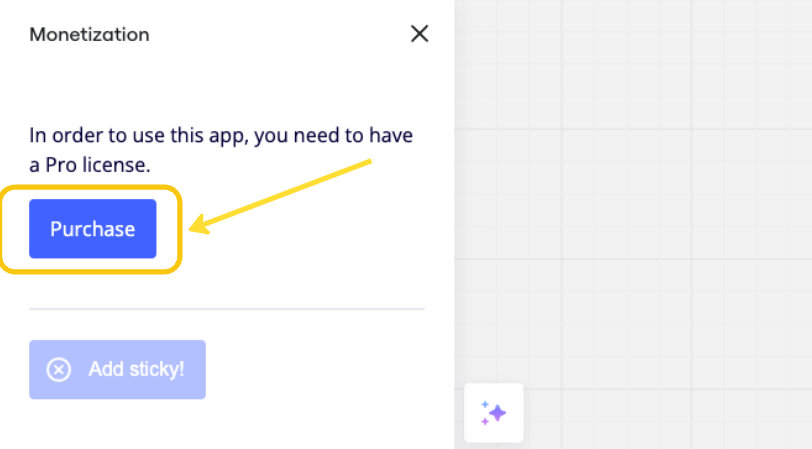
Salable’s example app covers the basic use case for a one-time license purchase to access features of the Miro app. In this example, users can access the app’s sticky note feature only once they’ve purchased a license.
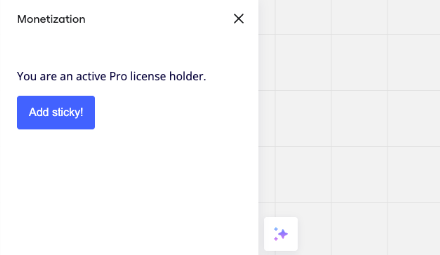
After making a payment in Test Mode, the Add sticky! functionality is enabled.
Run the app
To get the example app up and running, follow these steps:
- Read the
README.mdin the root folder of the project. - Handle the prerequisites in Salable.
- Update the
.env.examplefile in the example app with the credentials for both platforms, and rename it to.env. - Run
npm installto update packages. - Run
npm startto run the app.
Got things to share?Working on an app that incorporates monetization? We’d love to hear about it! Join Miro’s Discord channel to ask questions, share your app, or get feedback on your ideas.
Updated 4 months ago