Log in to a third-party service using OAuth
This guide teaches you to how to handle logging into a third-party service (Slack) using OAuth. The guide will teach you how to store user information using local storage.
If you're looking to integrate a Miro app with an external service, implementing OAuth is essential for secure API access.
Goal
Learn how to authenticate with an external service using OAuth. This guide covers logging in, displaying the login status on the UI, and enabling logout functionality.
Prerequisites
Before starting, ensure you have:
- A Miro account.
- Logged in to Miro.
- A Developer team set up in your Miro account.
- Node.js 14.15 or newer installed in your development environment.
- An app on a third-party service with an OAuth URL, Client ID, and Client Secret for authentication. This example uses a Slack app.
Watch app demo
To grasp the app's flow, watch the demo on GitHub in the app example demo section. Once familiar with the flow, proceed to the next steps.
Configuring environment variables
Navigate to the .sample.env file and input your OAuth URL, corresponding to the third-party service login, Slack in this case.
Retrieving Slack app credentials
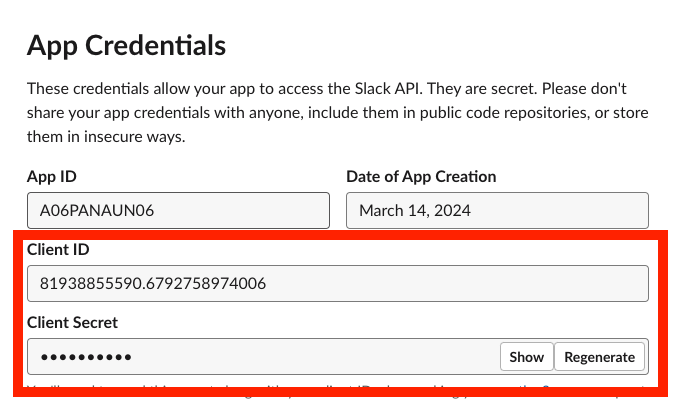
For Slack's Client ID and Client Secret:
- Access Slack > Settings > Basic Information.
- Under App Credentials, note the Client ID and Client Secret and save them in your
.sample.envfile.
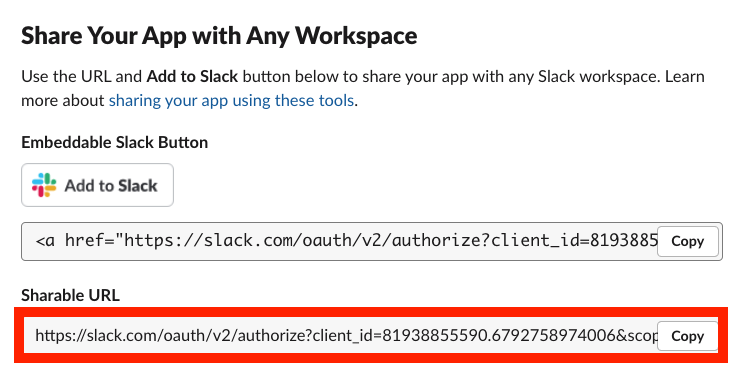
To obtain the OAuth URL from Slack:
- Navigate to Slack > Settings > Manage Distribution.
- Check all boxes.
- In the Share Your App with Any Workspace section, copy the Sharable URL.
- Use this URL as the OAuth URL in your
.sample.envfile.
Update your .env file with the OAuth URL and any required scopes on the OAuth and permissions page of the app settings. Rename .sample.env to .env and save the changes.
Front-end overview
The app's front end mainly resides within the app.js file, with some HTML in the app.html file.
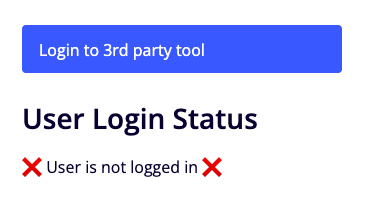
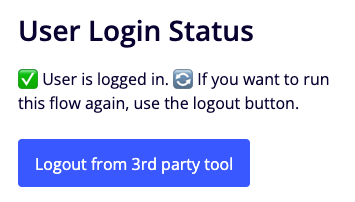
The app initializes by hiding the logout button and checking the login status using localStorage. Depending on the login status, it either shows the login or logout button.
The startOAuthFlow function activates upon clicking the "Login to 3rd party tool" button, fetching the OAuth URL from the back end and opening it. It then listens for a message from the back end indicating whether authentication was successful. If so, it sets the isLoggedIn property of localStorage to true and updates the UI to reflect the successful login.
Back-end setup
The Node.js backend, found in app.js, requires running npm install before launching the server with node app.js. Run the front end and back end in separate terminal windows.
Configuring redirect URLs
Since Slack requires https:// redirect URLs, use ngrok to tunnel http://localhost:4000. Install ngrok (the free version suffices), start your server, and then run ngrok http 4000 in another terminal.
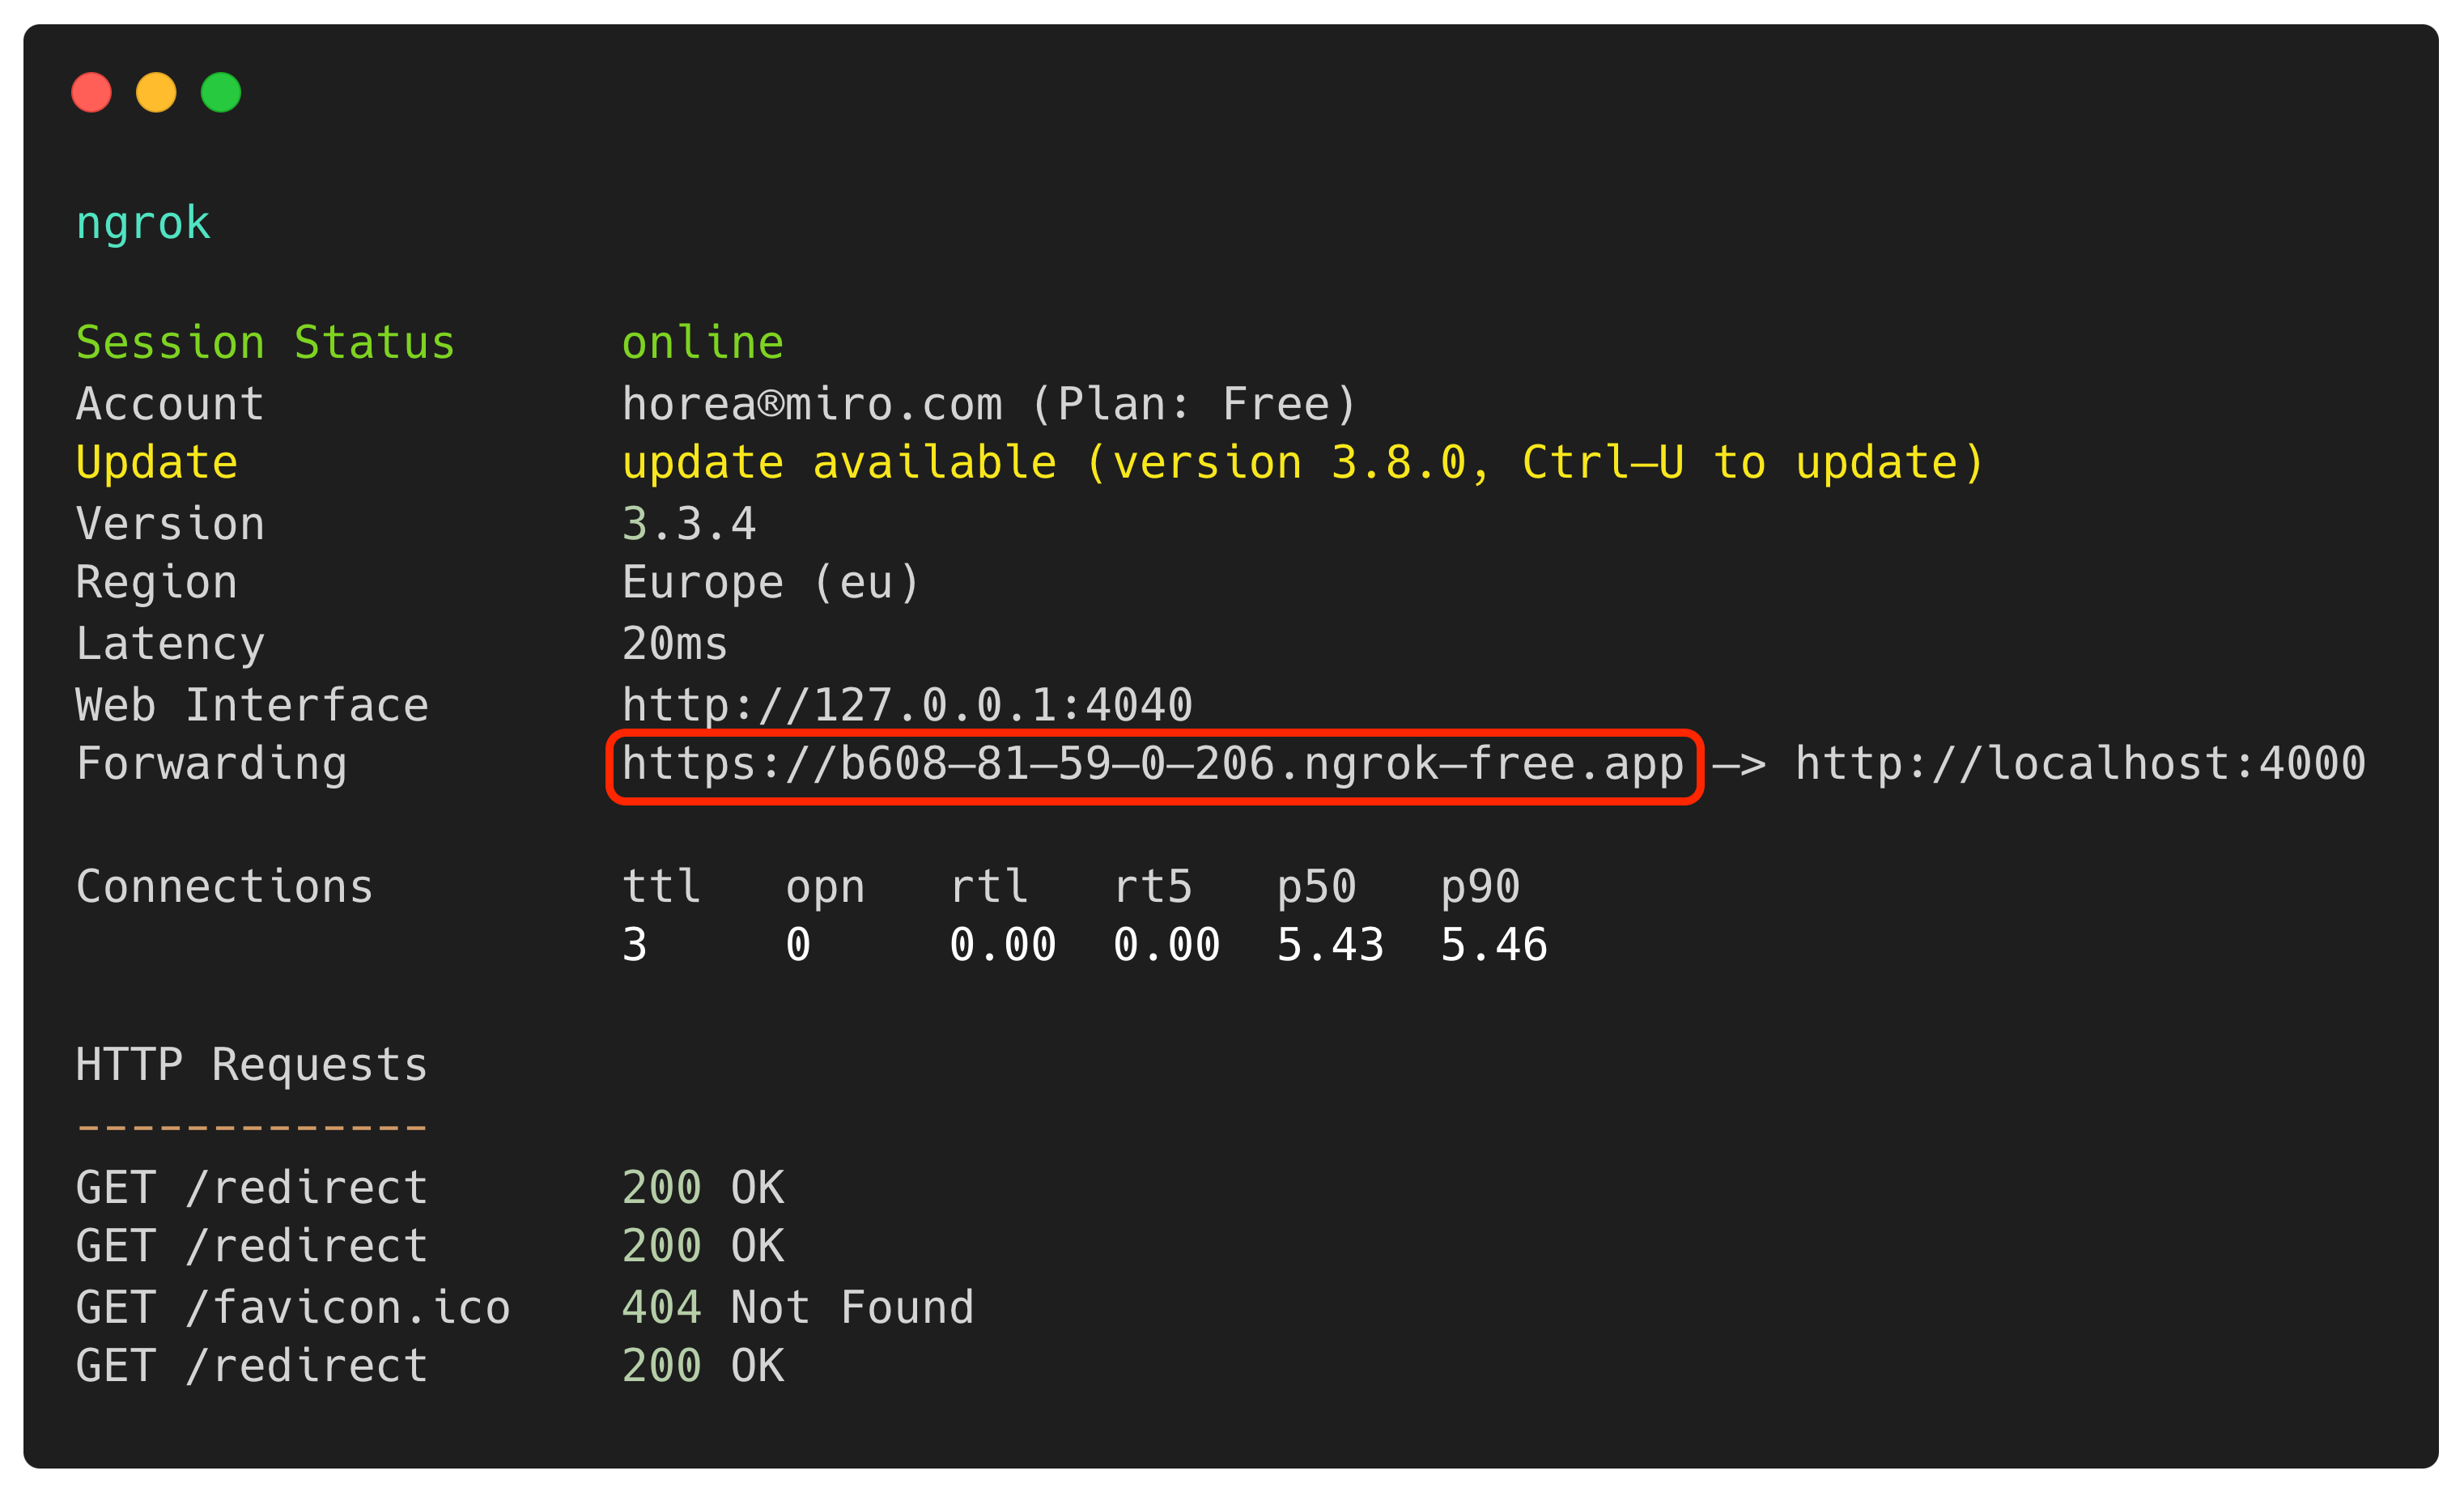
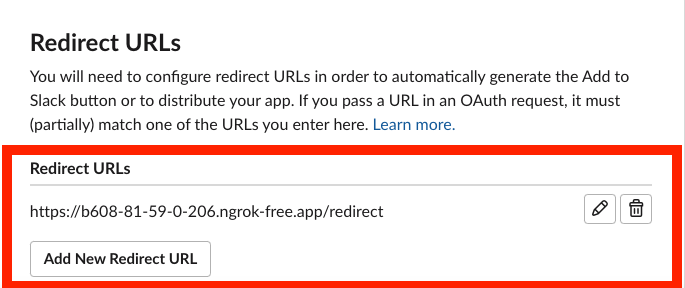
Ngrok provides an HTTPS route, which you should add to your Slack App Settings as the redirect URL, appending /redirect to the end.
Understanding main logic
The back end has two primary routes: the home route /, sending the OAuth URL to the front end, and the /redirect route, handling the OAuth logic. Upon successful OAuth flow completion, Slack sends a temporary code to the redirect route /redirect, which exchanges the code for an access token using Slack's oauth.v2.access endpoint.
Successful authentication sends a redirectSuccess: true message to the front end, closing the window after five seconds. Unsuccessful attempts send a redirectSuccess: false message.
Given that you set the correct redirect URL in your Slack App Settings, once you click "Allow" in the OAuth flow, Slack will send a temporary code to your /redirect route. In that route, check if the statusCode was 200, and if it was then it means you have successfully finished the OAuth flow. You can then grab the code from the URL, and use the https://slack.com/api/oauth.v2.access endpoint to exchange the code for an access token. Once you have the access token from the third-party service, you can start using the third-party APIs, as long as the scopes you have requested are sufficient.
Conclusion
Now you understand how to login to a third-party service using OAuth within your Miro app. See the full app-example on GitHub.
Updated 4 months ago