

Getting started with Miro's MCP Server
Learn how to connect Miro's MCP Server with your AI tool of choice.
Feedback form.
This guide walks you through connecting Miro's MCP Server to MCP Clients.
Configuration steps
- Open your MCP-compatible client's settings.
- Navigate to the MCP configuration section.
- Add one of the following configurations based on your MCP client's capabilities:
{
  "mcpServers": {
    "miro-mcp": {
      "url": "https://mcp.miro.com/",
      "disabled": false,
      "autoApprove": []
    }
  }
}
After adding in this configuration, click on "Connect".
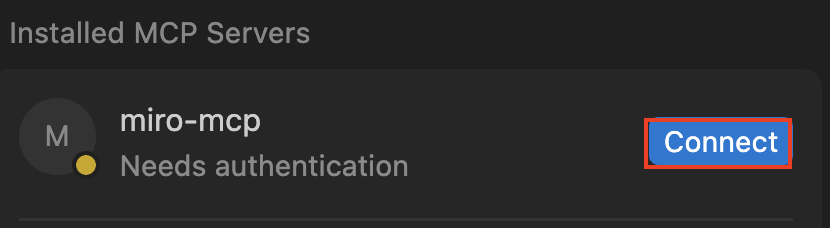
Click on "Connect"
Miro OAuth Flow
This will start the OAuth flow in Miro.
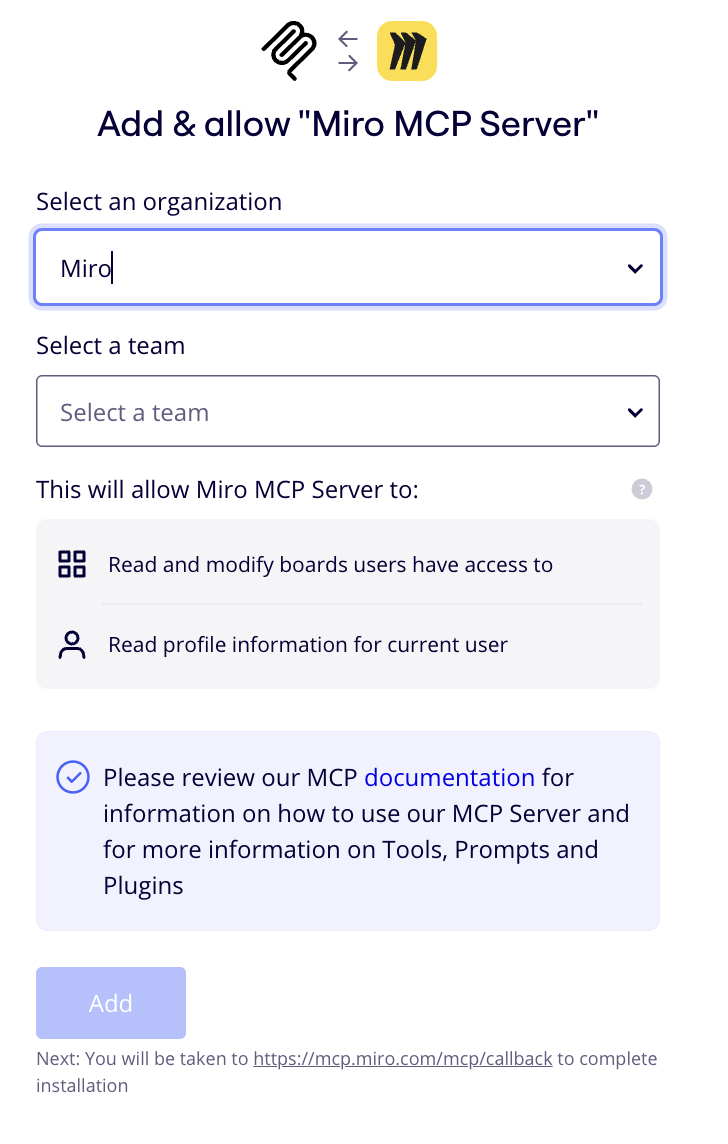
Installing Miro MCP: Team Selection
Miro MCP Server is team-specific. Please select the team that contains the board you wish to use. If you receive an access error later, simply re-authenticate and ensure the correct team is selected.
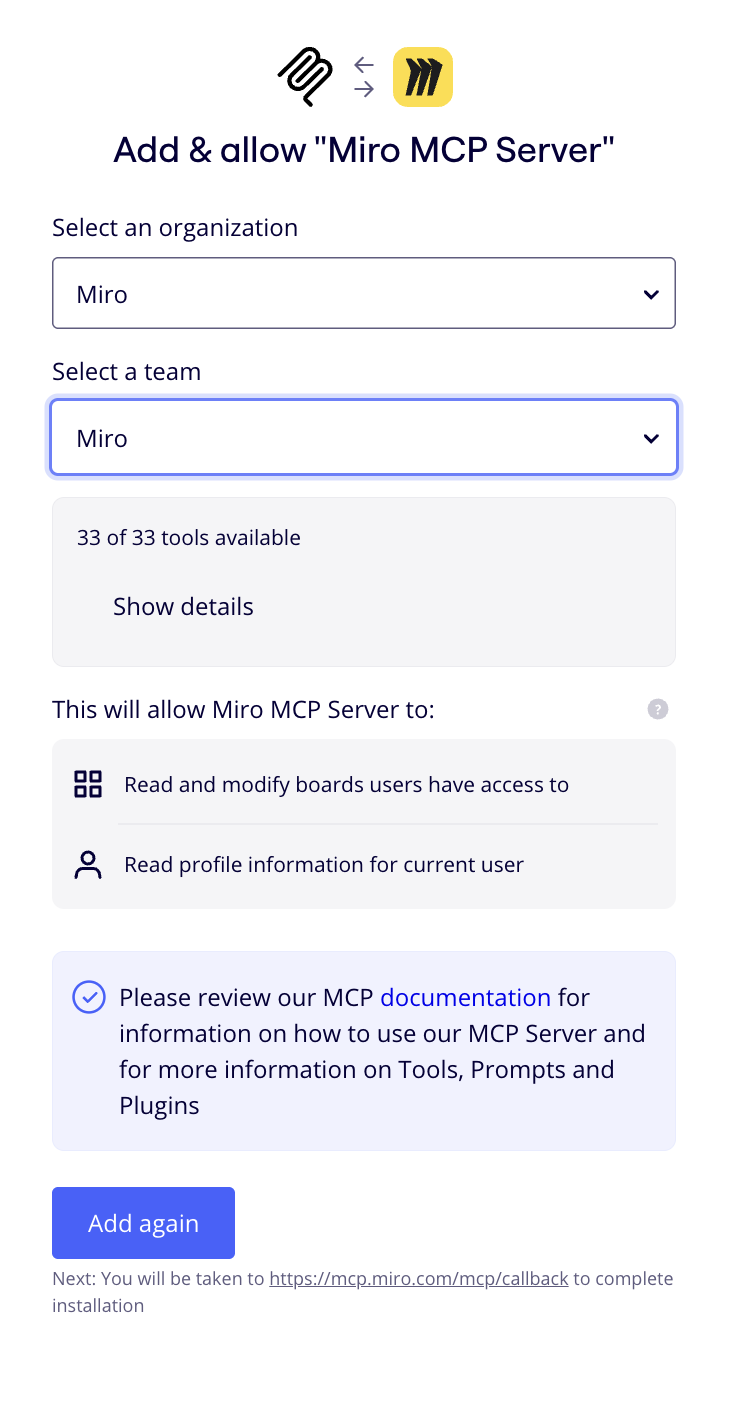
You'll see a note that the Authentication was successful, and you'll be redirected back into Cursor or your AI tool of choice.
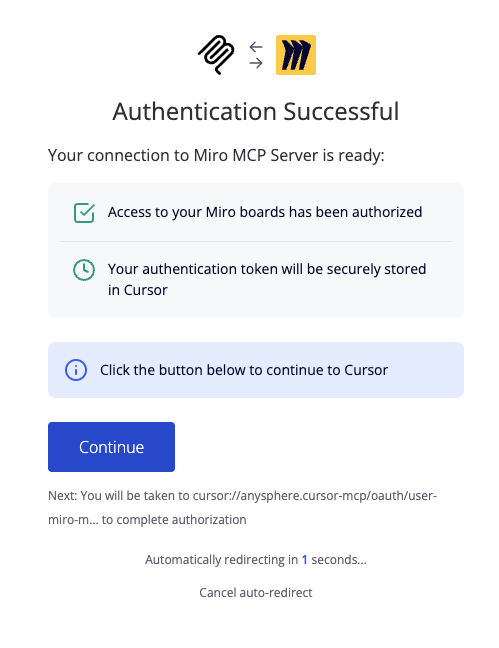
Click Continue to be redirected back into your AI Tool of choice.
That's it! You can start prompting away! See our tutorials for more details on how to best use Miro's MCP Server.
If you are on Miro Enterprise Plan you will have more granular control over how your organization can use MCP. See our Admin guide for more details.
Updated 2 months ago
What's next
Did this page help you?